
How to configure and optimize the Scan to Email function on a Xerox printer
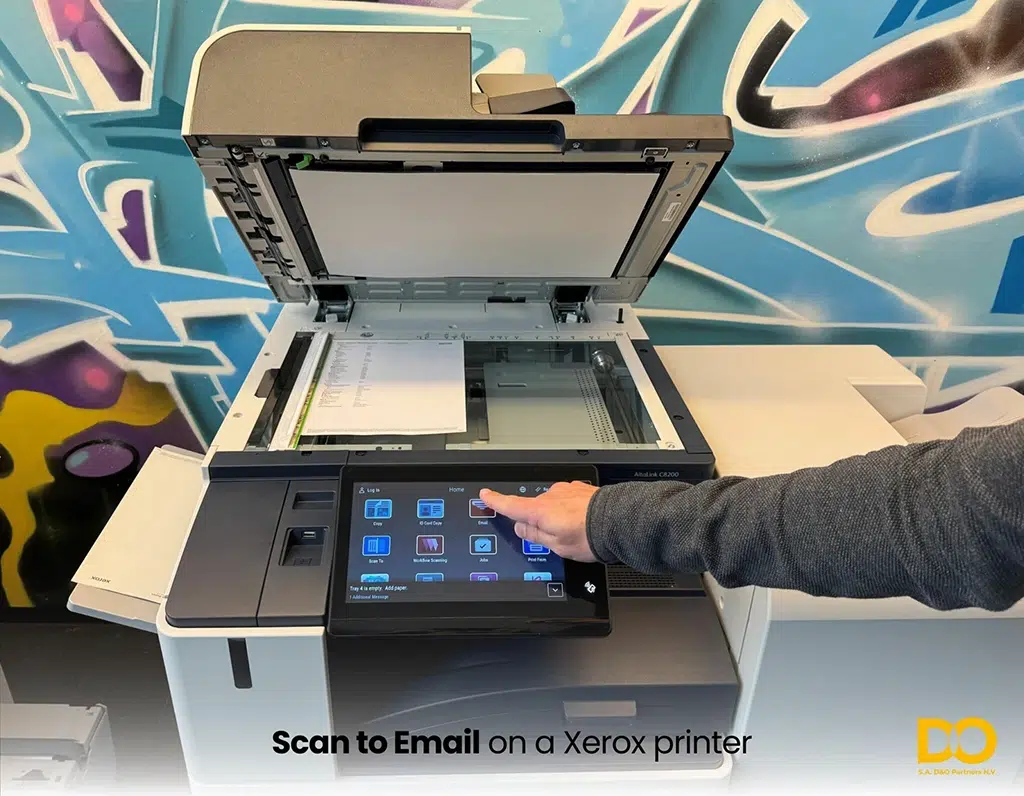
Having trouble using Scan to Email on your Xerox printer? Whether you’re looking to set up this feature via an SMTP server or a simpler solution with the cloud, this step-by-step guide will walk you through it. Learn how to send your scanned documents directly by email, quickly and easily.
Method 1: Configuring Scan to Email via SMTP on a Xerox printer
Step 1: Check your network connection
Before configuring Scan to Email via SMTP, make sure your Xerox printer is correctly connected to a network. Test the Internet connection using another device.
Step 2: Configure SMTP settings
- Access the printer management interface by typing the IP address into a web browser.
- In the Scan to Email section, configure the SMTP server. For example, for a Gmail account, use “smtp.gmail.com” with port 465 or 587 and enable SSL/TLS.
- Enter your email address and password for authentication if necessary.
Step 3: Authenticate and verify security
- Check that authentication (username and password) is correct.
- Make sure the SSL/TLS option is enabled to secure the connection with the SMTP server.
Step 4: Check the email address to be sent
The email address you have configured to send documents must be valid. If you use Gmail, remember to activate “Access for less secure applications” or create an application password.
Step 5: Update the printer firmware
Check that your Xerox printer is up to date. Firmware updates can correct bugs and improve compatibility with SMTP servers.
Method 2: Using Scan to Email via the Cloud (without SMTP)
If you prefer a simpler option, Xerox offers a Scan to Email solution via the Cloud that doesn’t require SMTP configuration.
Step 1: Activate Scan to Email via Cloud
- Access your printer’s management interface by entering the IP address in your browser.
- Go to Xerox App Gallery settings. If you don’t have an account yet, create one.
- Install the Scan to Email Cloud application.
Step 2: Use the Scan to Email Cloud application
With this cloud solution, you simply select the Scan to Email option, enter the recipient’s email address and send the document. The application will send documents via Xerox cloud servers, without the need to configure an SMTP server.
Why choose Scan to Email Cloud?
- Simplicity: No need to configure an SMTP server.
- Security: Secure delivery via Xerox cloud servers.
- Time-saving: Quick set-up and instant delivery.
Additional tips:
- If you encounter difficulties with either method, try restarting the printer or checking the network and security settings.
- Check firmware updates regularly to improve compatibility and performance.
Conclusion:
Whether you choose the traditional method via SMTP or the more modern and simplified solution via the cloud, Xerox offers you flexible options for using your printer’s Scan to Email functionality. Both methods allow you to easily send your scanned documents by email, without hassle.
Frequently asked questions
What are the two ways to configure Scan to Email on a Xerox printer?
There are two methods. The first uses an SMTP server: you manually configure the outgoing server settings from the printer’s web interface. The second, simpler one, uses Xerox’s Scan to Email Cloud application, which sends documents via Xerox’s cloud servers with no SMTP configuration at all. The choice depends on your environment and your technical comfort level.
How do you configure Scan to Email via SMTP?
First, check that the printer is properly connected to the network. Then access its management interface by typing its IP address into a browser and, in the Scan to Email section, enter the SMTP server. For a Gmail account, for example, use smtp.gmail.com with port 465 or 587 and enable SSL/TLS. Finally, enter the address and authentication credentials, and check that the printer’s firmware is up to date.
Which security settings should you check with SMTP?
Two points are essential: that authentication (username and password) is correct, and that the SSL/TLS option is enabled to encrypt the connection with the SMTP server. With Gmail, sending now requires an app password (generated after enabling two-step verification), as the old “access for less secure apps” option is no longer available.
How does Scan to Email via the Cloud work, without SMTP?
From the printer’s management interface, go to the Xerox App Gallery settings (create an account if needed) and install the Scan to Email Cloud application. Then simply select the Scan to Email option, enter the recipient’s address and send: the application transmits the document via Xerox’s cloud servers. It is simpler to set up, secure and instant.
Scan to email isn’t working: what should I do?
Start by restarting the printer and checking the network and security settings. Make sure the sending email address is valid and the firmware is up to date, as updates fix bugs and improve compatibility with SMTP servers. If the problem persists, D&O Partners technicians can configure and optimise this function for you, across Belgium.